The Color Lab Guide
Tie-Dye Resources
Learn simple tie-dye techniques, folding tricks, color-planning tips, and aftercare habits that help your shirts stay bright long after dye day.
Before You Start
The best tie-dye results usually come from three things: a clean cotton shirt, enough dye to fully reach the fabric folds, and enough patience to let the color bond before rinsing. The Color Lab kits are built around white, 100% cotton shirts and bright dye colors, so the creative part can stay fun instead of frustrating.
- Cover your table before opening dye bottles.
- Wear gloves and keep paper towels nearby.
- Plan your colors before the shirt is folded.
- Use enough dye to reach into the folds, but avoid drowning the shirt.
- Keep colors that blend well near each other, such as blue with purple or yellow with orange.
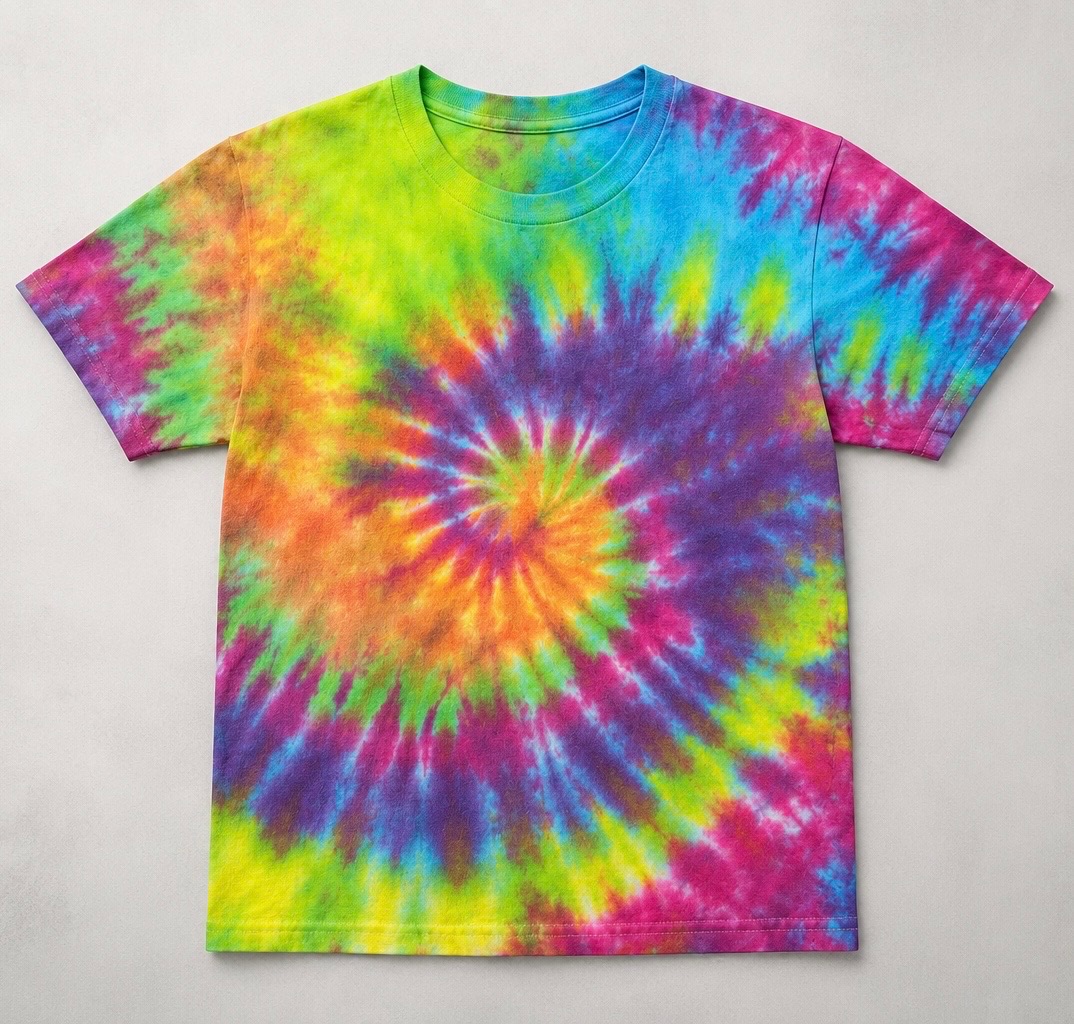
Classic Spiral
The spiral is the most recognizable tie-dye pattern and a great choice for birthdays, family events, and first-time dyers.
- Lay the shirt flat and pinch the center.
- Twist until the shirt forms a round disk.
- Secure the disk with rubber bands like pizza slices.
- Add one color to each section, flipping the shirt to color both sides.
Bullseye Rings
Bullseye designs create rings that spread outward from one or more points on the shirt.
- Pinch the shirt where you want the center of the bullseye.
- Pull the fabric upward into a cone shape.
- Place rubber bands down the cone every few inches.
- Add alternating colors between the bands.
Crumple Dye
Crumple dye is loose, organic, and very forgiving. It is one of the easiest ways to get a colorful all-over design.
- Scrunch the shirt into a loose mound.
- Use rubber bands to hold the mound together if needed.
- Add small patches of color across the top.
- Flip the shirt and repeat so the color reaches both sides.
Stripes and Pleats
Stripes are clean, bold, and easy to customize. Fold vertically for side-to-side stripes or horizontally for top-to-bottom color bands.
- Fold the shirt back and forth like a fan.
- Place rubber bands every few inches.
- Add dye between the bands.
- Use fewer colors for a cleaner stripe effect.
Heart Design
A heart design looks impressive but starts with one simple fold. It is a fun choice for gifts, parties, and matching group shirts.
- Fold the shirt in half vertically.
- Draw half a heart along the fold with a washable marker.
- Accordion-fold along the heart line and band it tightly.
- Dye the heart section one color and the outside another color.
Color Blocking
Color blocking uses larger areas of color instead of tiny sections. It is a good option when you want a bold design without a complicated fold.
- Fold or scrunch the shirt into a simple shape.
- Choose two to four colors.
- Apply each color in a larger area.
- Leave a little space between opposite colors to reduce muddy blending.
Color Pairing Tips
Color choice has a big impact on the finished shirt. Bright neighboring colors usually blend beautifully, while opposite colors can turn brown or gray when they overlap too much.
- Great blends: pink with purple, blue with turquoise, yellow with orange, lime with turquoise.
- Use carefully: red with green, orange with blue, yellow with purple.
- For bold contrast: place opposite colors in separate sections with a little white space between them.
- For softer designs: use fewer colors and let some white shirt show through.
Rinsing and Washing Tips
Good aftercare helps a tie-dye shirt stay bright. Always follow the instructions included with your kit, but these general habits help protect the design.
- Give the dye enough time to bond before rinsing.
- Rinse carefully until the water starts running more clearly.
- Wash newly dyed shirts separately the first time.
- Use cold water and a small amount of detergent for the first wash.
- Wash inside out to help reduce friction on the design.
Build a Kit for Your Group
Ready to plan your own dye day? Choose the shirt sizes, dye colors, and cleanup supplies you need, and The Color Lab will pack a custom kit for your event.